What is a mid-rail on a plantation shutter?
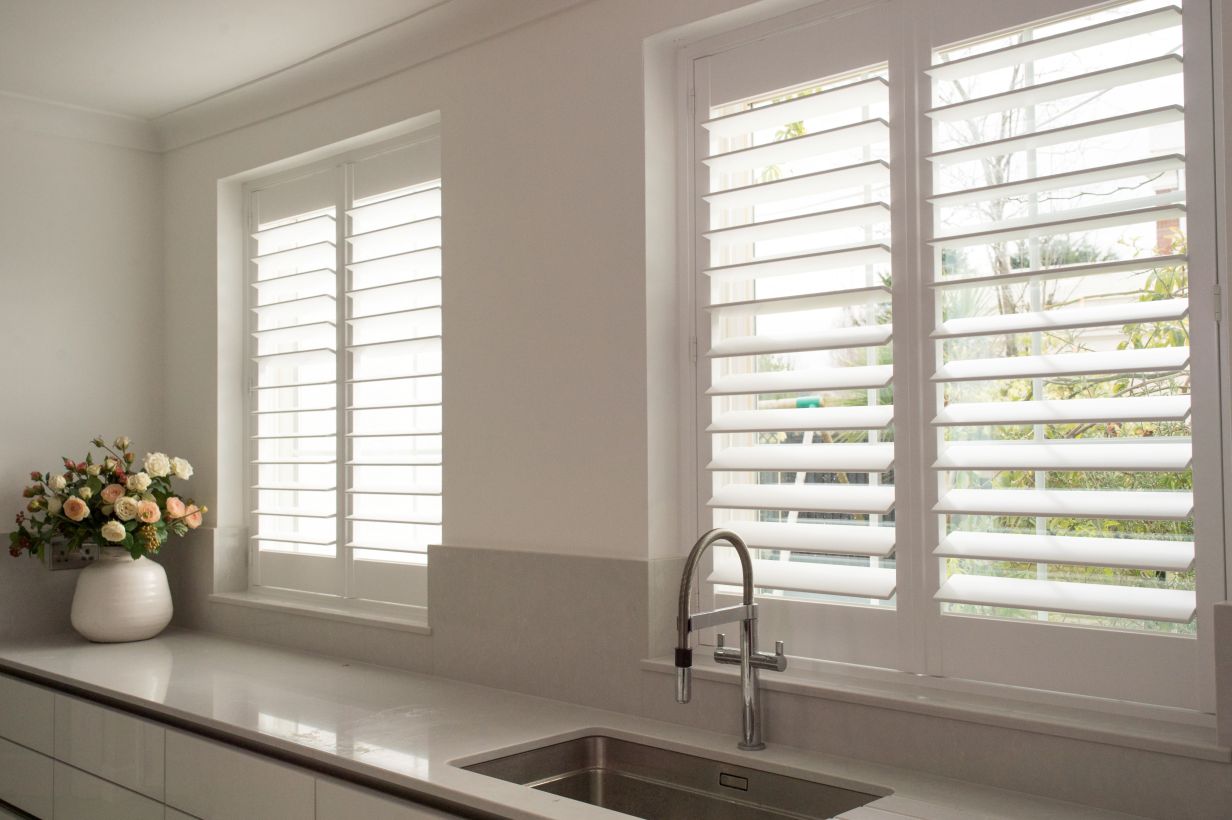
A mid-rail is a horizontal structural rail that runs across the full width of a louvred shutter panel, dividing it into an upper half and a lower half. Each section contains its own set of louvres operated by a separate tilt rod, but both sections share the same outer frame and open together as one hinged piece when the panel swings back from the window.
The primary purpose of a mid-rail is structural. A tall shutter panel — any panel where the height significantly exceeds the width — can flex or rack over time without additional horizontal support. The mid-rail braces the panel against this movement, maintaining the parallel alignment of the louvres and the precise fit of the frame within the aperture. Mid-rails are routinely specified for panels over approximately 1.2 metres in height, though the exact threshold varies by frame material and panel width.
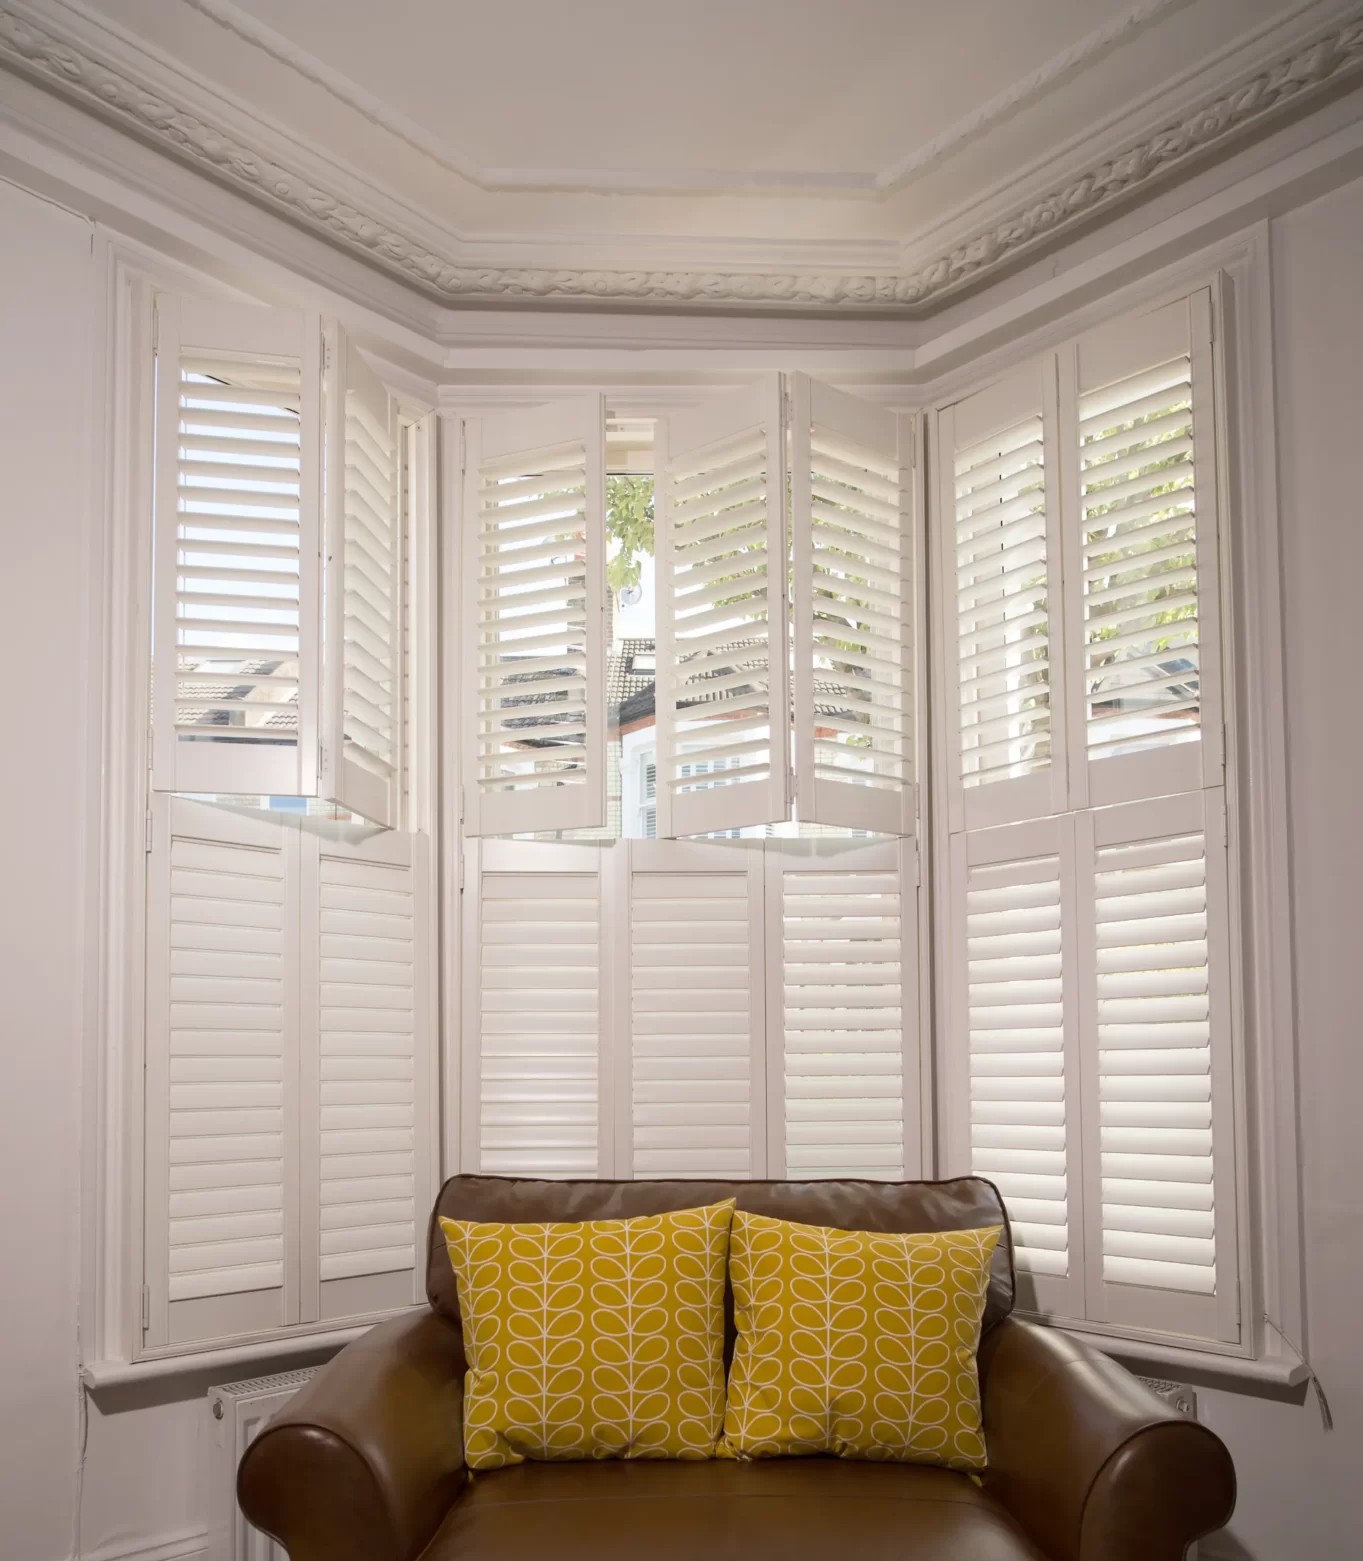
The secondary benefit — and the one most homeowners focus on — is split-tilt. Without a mid-rail, a full-height panel has one tilt rod and all louvres move together. With a mid-rail, the upper and lower sections each have their own tilt rod, so you can angle them to different positions simultaneously. From the room, the mid-rail reads as a narrow horizontal band crossing the panel — visually similar to the meeting rail on a sash window, which is why mid-rail shutters look particularly natural on a continuous louvred panel in a traditional sash window aperture.
How split-tilt works in practice
Split-tilt is the day-to-day function that makes a mid-rail genuinely useful. Each section of the panel — upper and lower — has its own tilt rod: the vertical bar that you push or pull to rotate the louvre blades. Moving the upper tilt rod adjusts only the upper louvres; moving the lower tilt rod adjusts only the lower louvres. The two halves operate entirely independently.
The most common everyday use is street-level privacy on a ground-floor window. With the lower louvres angled sharply upward or closed, a passerby cannot see into the room at eye level. With the upper louvres open or tilted downward, daylight continues to enter from above head height. The result is effective privacy without sacrificing natural light — a balance a single-tier panel without a mid-rail cannot achieve unless the panel is closed entirely.
The reverse arrangement suits rooms facing bright southern or western aspects: upper louvres closed or angled to reduce direct glare at ceiling level, lower louvres open for ambient light from below. In kitchens or bathrooms on upper floors, split-tilt allows the lower section to open fully for ventilation while the upper louvres remain tilted against direct sun or a neighbouring window. Tilt rods come in visible and hidden configurations — both work identically with split-tilt — and the choice is primarily aesthetic. For the relationship between tilt rod style and louvre blade width, see our guide covering how 47mm, 64mm, and 89mm louvre blades compare in practice.
Mid-rail panel versus tier-on-tier: the key distinction
This is the question homeowners most frequently ask, because the visual result of a mid-rail panel and a tier-on-tier installation can look similar from across the room — both show a horizontal division at the window mid-point and both allow independent light and privacy control in the upper and lower halves. The functional difference lies in whether the upper and lower sections can each swing open independently.
A mid-rail panel is one hinged frame. The outer frame runs from sill to head, and the whole panel opens as a single piece when folded back. The mid-rail is internal bracing within that frame — not a second frame boundary — so to access the window behind it, you open the entire shutter in one movement. This works well for windows that do not need frequent opening, or where the shutters are routinely folded fully back when ventilating.
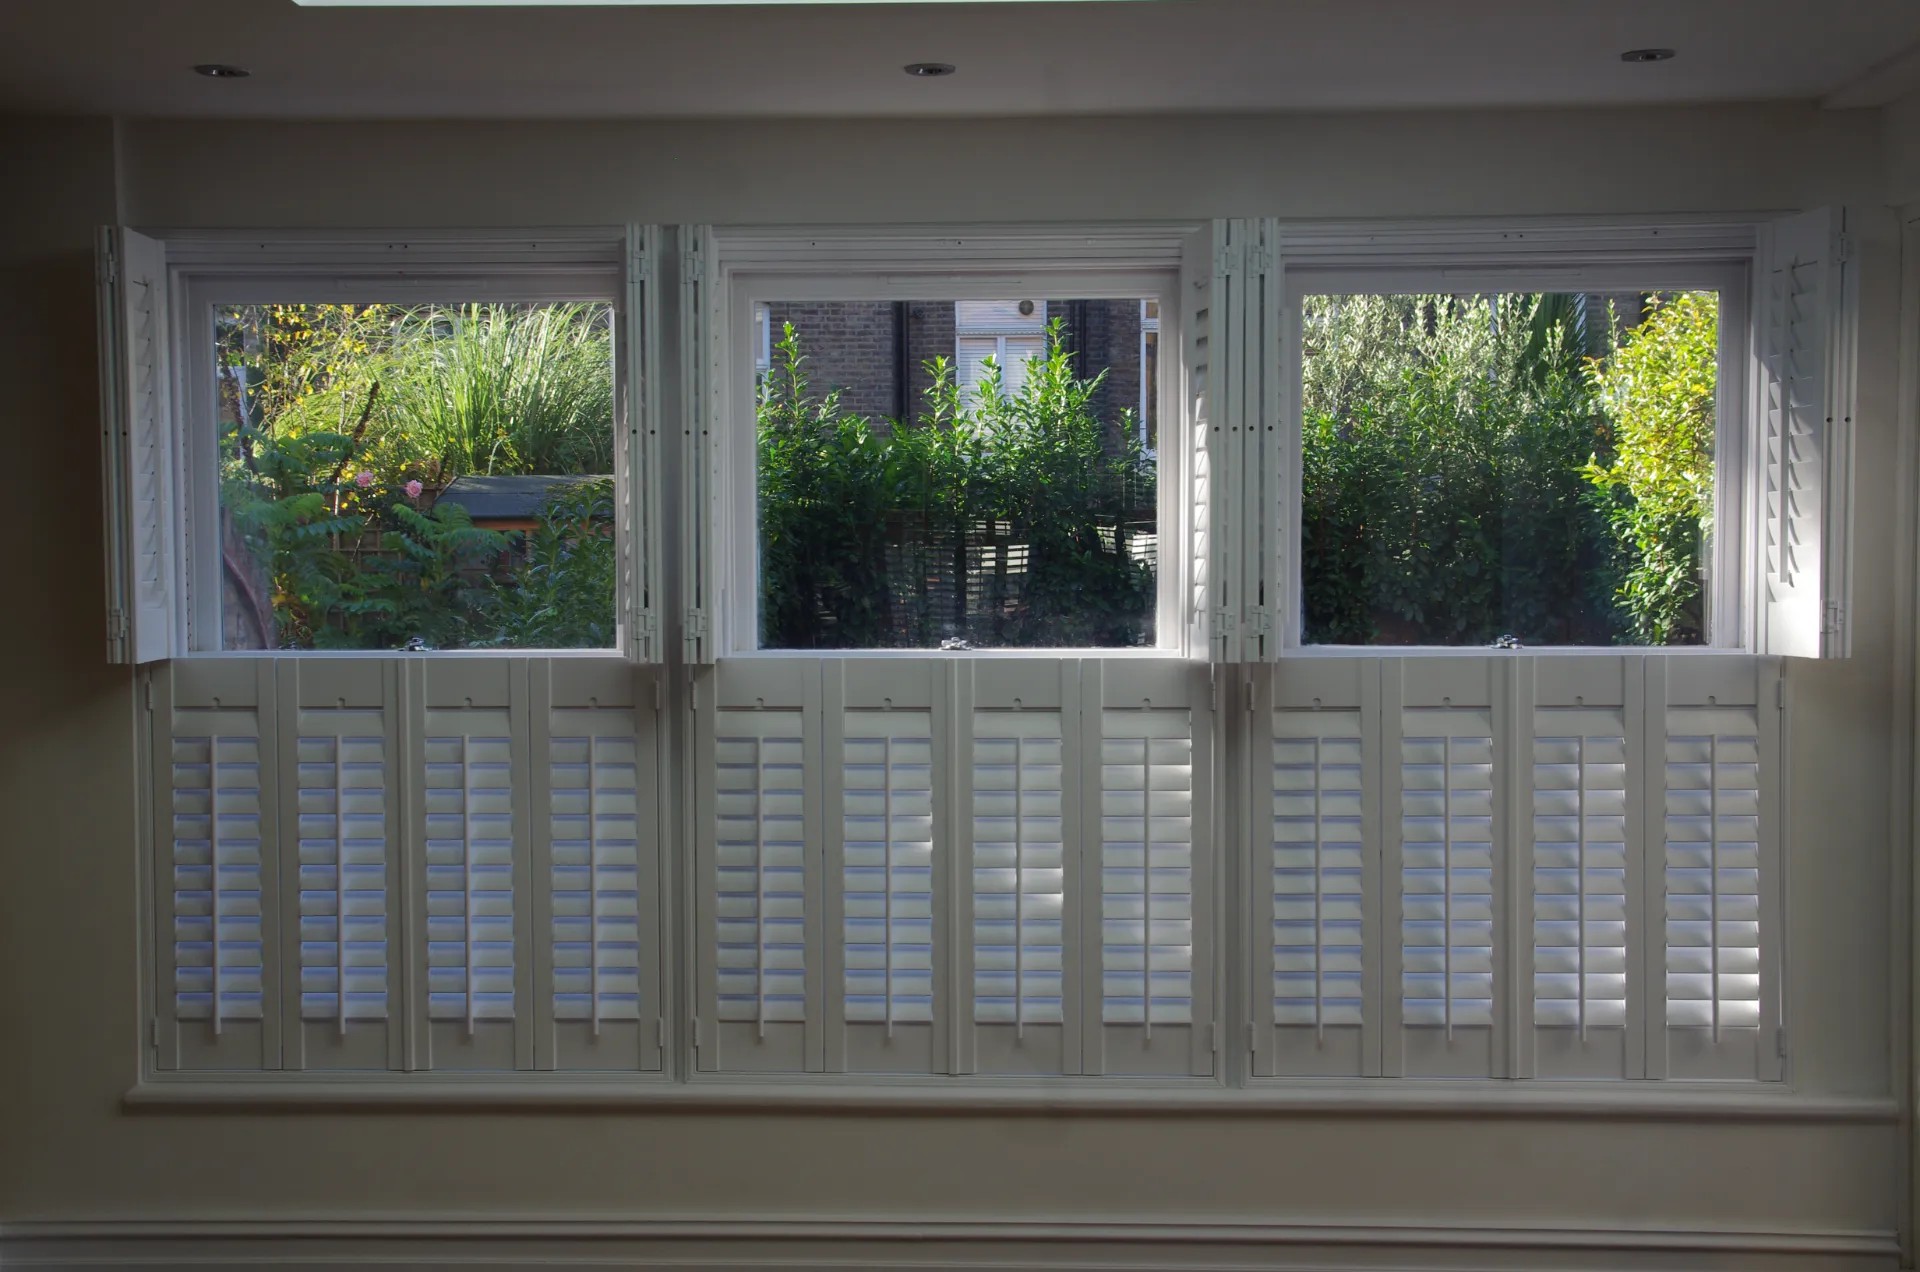
A tier-on-tier installation uses two separate hinged frames stacked vertically: an upper panel from the window head to the mid-point, and a lower panel from the mid-point to the sill. Each frame has its own hinges and hardware. You can fold back the lower panel to raise the lower sash for ventilation while the upper panel stays closed for privacy — or open either half without disturbing the other. Our comparison of full-height and tier-on-tier shutter configurations covers the practical and cost trade-offs in detail.
For sash windows — particularly Victorian and Edwardian sliding sashes — tier-on-tier is often preferred because it mirrors the window's own division at the meeting rail and allows raising the lower sash with just the lower shutter folded back. Our guide to how shutters are specified and fitted to sash windows covers this in full, including how the frame is installed without obstructing sash movement. Where the goal is primarily light and privacy control rather than independent window access, a mid-rail panel with split-tilt delivers a comparable result at a lower cost, because it uses one frame assembly rather than two.
When does a panel need a mid-rail?
The structural requirement for a mid-rail is driven primarily by panel height. Any panel over approximately 1.2 metres tall is typically specified with a mid-rail as standard — though the precise threshold depends on frame material, panel width, and louvre size. Composite panels and wider panels are more likely to require one at lower heights. The surveyor confirms during the appointment whether each panel needs a mid-rail for structural reasons.
Homeowners also request mid-rails specifically for split-tilt on windows that would not structurally require one. This is entirely valid: a mid-rail can be added as a design specification rather than a structural necessity, and the surveyor notes it as such. It is worth deciding at survey stage whether split-tilt functionality justifies the visual addition of the horizontal bar on shorter windows, as removing it later means remanufacturing the panel.
On sash windows, the conventional mid-rail position aligns with the meeting rail — the bar where upper and lower sashes overlap at the window mid-point. This produces a shutter that echoes the geometry of the window behind it and places the tilt rod break at the most natural visual transition point. The tier-on-tier and sash window fitting guide covers related fitting principles in depth, and the same mid-rail positioning logic applies directly to mid-rail panels on sash window openings. Shutters mounted only on the lower pane typically do not use a mid-rail, since the panel height is already reduced and split-tilt is not needed when the upper portion of the window is unshuttered.
Louvre size, mid-rail position, and the finished result
The mid-rail position — the height at which the panel divides — is a specification choice confirmed at survey. For sash windows, alignment with the meeting rail is the default. For casement windows, the mid-rail is set at the midpoint (50:50) or at a 60:40 ratio with the larger section at the bottom, prioritising privacy control at street level. If there is a specific external obstruction to address — a neighbour's window, a street lamp, a roof line — the mid-rail can be positioned at the most relevant height, and the surveyor can indicate this directly on the window during the visit.
Louvre blade width interacts with mid-rail positioning in a practical way. Larger louvres occupy more height per blade, so a panel fitted with 89mm blades will contain fewer blades per section than the same panel fitted with 47mm blades. A short upper section fitted with 89mm blades may contain only three or four louvres, giving coarse tilt adjustment in that section. This is rarely a problem in practice — three louvre positions cover most everyday needs — but it is worth discussing at survey if you plan to use the upper section frequently. The louvre blade width guide covering 47mm, 64mm, and 89mm shutters explains how blade size affects panel appearance and tilt granularity in detail.
Our resource covering why full-height shutters remain the UK's most popular style provides useful context if you are considering whether a clean, unbroken single-tier panel suits your windows better than a mid-rail version — many homeowners find the mid-rail unnecessary when windows are not particularly tall and the structural requirement is absent.
Specification and pricing for mid-rail shutters
Mid-rail specification is confirmed at the free home survey, not at the point of initial enquiry. Determining whether a panel needs a mid-rail from photographs or verbal descriptions is unreliable — the surveyor measures each panel height precisely and applies structural thresholds to each aperture individually. Where the mid-rail is optional rather than structurally required, the surveyor presents both options and discusses the visual and practical implications of each.
Pricing for mid-rail panels is in almost all cases the same as for equivalent full-height panels without one. The mid-rail is a standard component of the panel assembly, not an upgrade with a supplementary charge. Tier-on-tier installations typically carry a premium because they use two independent frame assemblies with double the hinge and panel hardware per window. Indicative pricing for supply and fit starts from approximately £160–£230 per square metre for composite panels and £220–£320 per square metre for hardwood, with a fixed written quotation confirmed at survey. Frame configuration and how it interacts with the overall quotation is covered in our L-Frame and Z-Frame mounting guide.
Book a complimentary home survey with Shutters Factory and a specialist will measure every window, confirm mid-rail requirements, and provide a fixed written quotation at no cost or obligation. View the installation photography to see mid-rail and tier-on-tier panels in real UK homes, or see every material and configuration in our made-to-measure shutter range before the appointment.