Why the surface finish is more than decoration
It is tempting to treat the paint finish on a plantation shutter as a cosmetic detail chosen at the end of the specification process. In practice, the finish is a structural component: it seals the timber grain against moisture uptake, reduces the rate at which the panel expands and contracts across the seasons, and creates the hard, cleanable surface that handles daily contact with hands, dust cloths, and cleaning solutions without degrading over time.
A poorly prepared or under-coated finish allows ambient moisture to enter the timber and accelerates the movement cycle — the gradual swelling and shrinking that, over years, can cause louvre blades to bind in their tenon sockets or panel edges to rub against adjacent panels. A correctly sealed, multi-coat finish slows that process significantly. Understanding why timber behaves this way — and how the species choice affects it — is covered in detail in the guide to wooden plantation shutters, which explains grain structure, moisture response, and the role of kiln drying in dimensional stability.
Preparing the timber before any paint is applied
Before a single coat of primer touches a panel, the milled timber components must be prepared to a consistent, defect-free substrate. This preparation stage has three steps. First, every surface — panel face, louvre blades, stile edges, and frame sections — is sanded to 120–180 grit to open the grain uniformly and remove any machining marks left by the router or planer. Consistent grit across every component ensures the primer bonds evenly rather than holding thicker in rough patches and thinner over smooth ones.
Second, any knots, resin pockets, or sap-wood inclusions are treated with a shellac-based knotting compound. This is a critical step that is often overlooked in lower-quality production environments: without it, the natural resins in timber can bleed through primer and topcoat as amber or brown staining, especially in timber that has not been fully kiln-dried. Our Endura hardwood shutters, made from kiln-dried hardwood, pass through this knotting stage as standard — the hardwood's high density and low resin content mean fewer knots, but any present are sealed before the finishing process begins.
Third, all sanding dust is removed with compressed air and a tack cloth before primer is applied. Any dust left on the surface is sealed under the primer coat and creates a grit-textured finish that must then be cut back in the next stage — an extra step that can be avoided entirely by thorough cleaning at this point. Strato paulownia panels, being very light and fine-grained, typically require minimal knotting compound but benefit most from thorough sanding, as paulownia's low density means the grain opens readily and accepts primer efficiently when prepared correctly.
The spray-applied primer, intermediate, and topcoat process
The painting process at the factory runs in three stages. The first stage is a full flood coat of wood primer, applied by spray gun at a controlled air pressure and gun distance to achieve a consistent wet-film thickness across every surface. Spray application distributes the primer far more evenly than brush application, which tends to leave directional brush marks and build thicker coats at edges and corners — both visible in a topcoat and structurally uneven as a moisture barrier.
After the primer cures fully — typically 24 hours in a temperature-controlled environment — the surface is lightly cut back with 240-grit sandpaper to knock down any raised grain or nibs that emerged during drying. This intermediate sanding stage is what distinguishes a factory finish from a site-applied one: it creates the ultra-smooth substrate that makes the final lacquer coat appear flat and uniform rather than showing the grain texture of the timber beneath. The sanding dust is removed before the topcoat is applied.
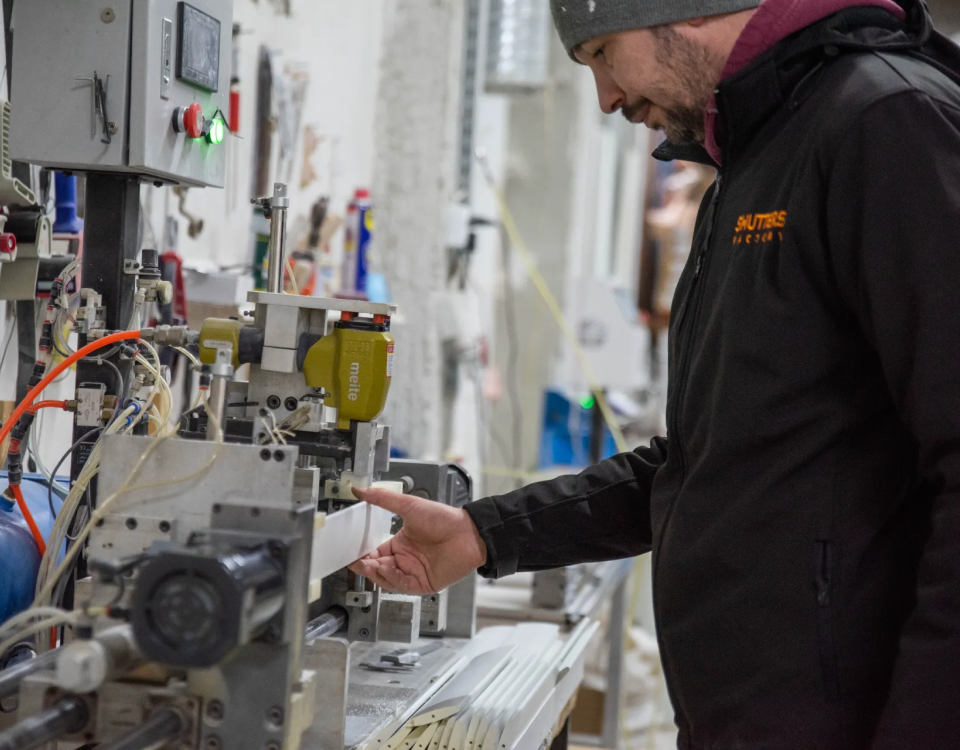
The topcoat lacquer is a hard, water-resistant coating applied in one or two coats depending on colour depth and coverage requirements. After curing, the finished panels are inspected for runs, holidays (missed coverage), and surface contamination before proceeding to the assembly stage. At the production and finishing facility, this inspection stage is part of the quality protocol that governs every panel before it leaves production — a process described more fully in the step-by-step guide to how plantation shutters are made.
White, RAL, and custom colour options
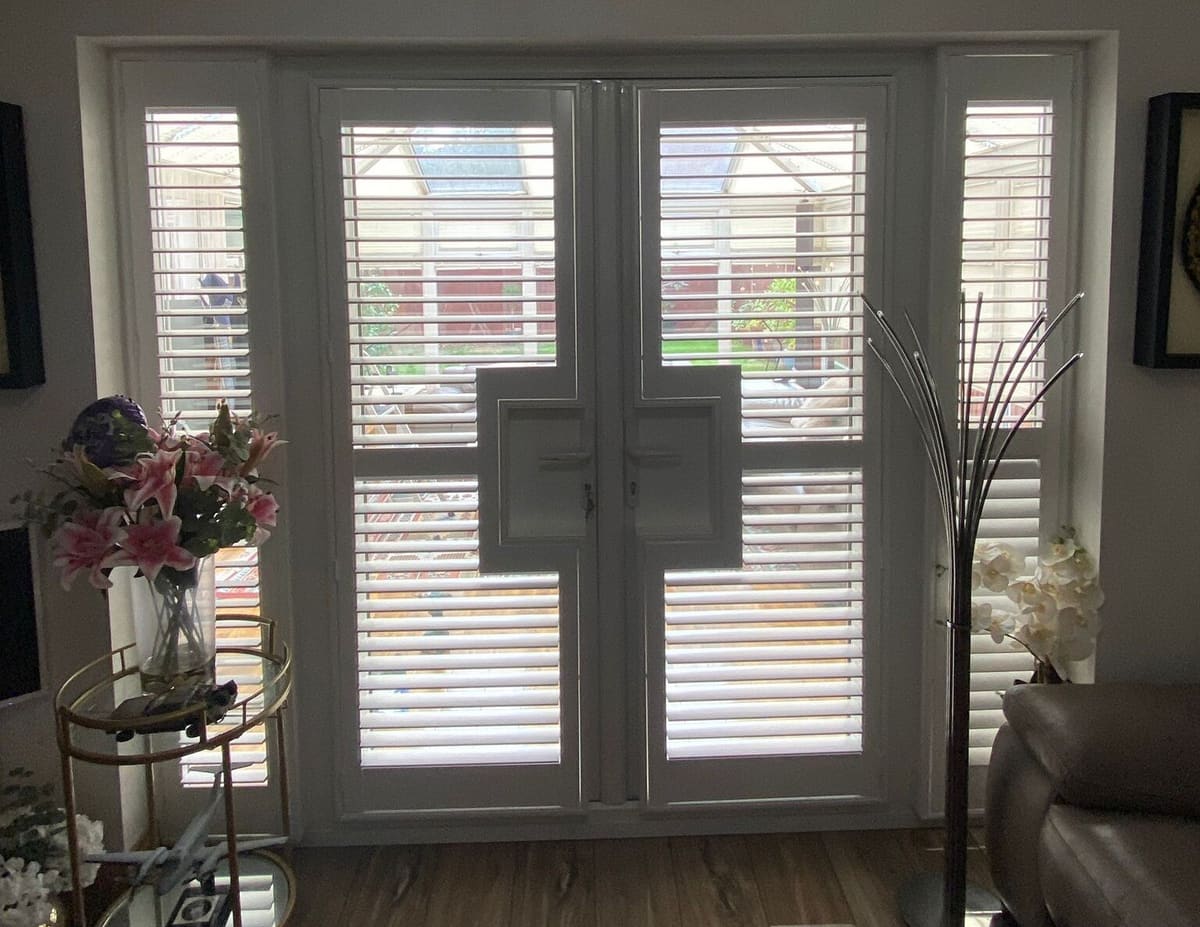
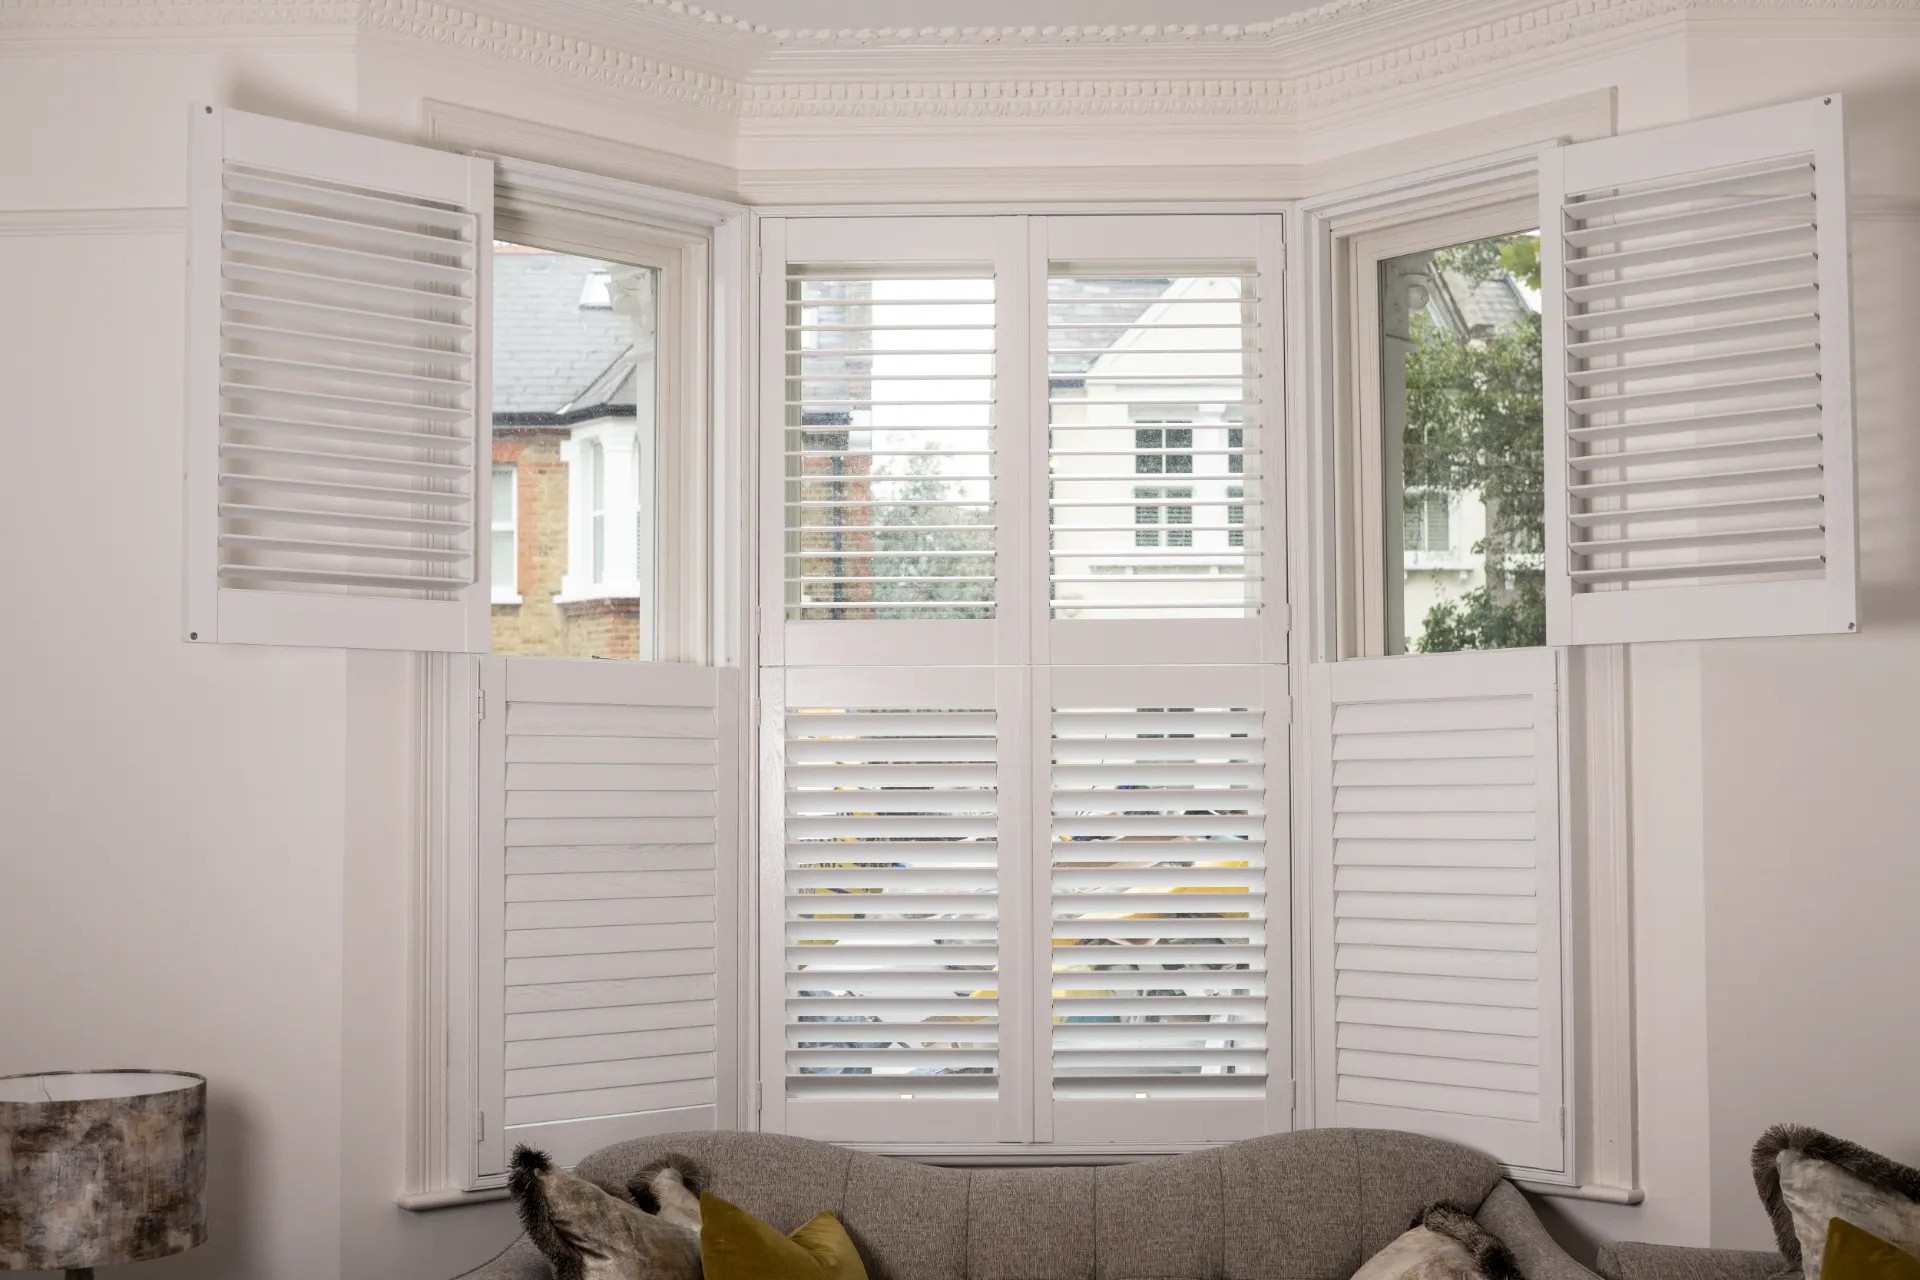
The standard finish across all timber and composite shutter ranges is a white or off-white lacquer — approximately RAL 9010 (pure white) or RAL 9016 (traffic white), depending on the range. These are the most popular choices in UK homes for a practical reason: a white or near-white finish reflects light into the room when the louvres are angled, reads clean against most wall colours, and ages well because slight yellowing — which does affect some lacquer systems over ten or fifteen years — is far less visible on a white or cream finish than on a pale grey or stone.
Custom RAL colours are available on all our timber shutter ranges. The most common requests are RAL 7016 (anthracite grey), RAL 7015 (slate grey), RAL 5011 (steel blue), and RAL 6009 (fir green) — popular in contemporary interiors where the shutter is intended to function as an architectural feature rather than a neutral window treatment. For custom colour orders, the primer coat is tinted to approximately 50% of the target colour, which reduces the number of topcoats required to achieve full, even coverage — particularly important for saturated or dark colours where a white primer base would require three or four topcoats to obscure it fully. For detailed advice on which colours work best in different room types and orientations, the 2026 guide to shutter colours for UK homes covers undertones, room size, and light direction in detail.
Darker colours — charcoal, deep green, navy — require more careful maintenance than white. The surface sheen of a dark lacquer makes dust and fingerprints more visible, and wiping with an abrasive cloth risks creating micro-scratches that dull the finish locally. A soft, damp cloth and gentle pressure is all that is needed for routine cleaning; no chemical sprays, cream cleaners, or solvent-based products should be applied.
Powder coating for aluminium shutters
Our Dura aluminium shutters are finished by electrostatic powder coating rather than liquid lacquer — a fundamentally different process that produces a harder, thicker, and more chemically resistant surface. In powder coating, the aluminium panel is electrically grounded, and a charged dry powder is sprayed onto the surface, where it adheres electrostatically to every face, edge, and profile. The coated panel is then passed through an oven at approximately 180–200°C, where the powder melts and flows into a continuous, pinhole-free film before cooling to a solid surface.
The result is a finish typically 60–80 microns thick — compared with 30–50 microns for a liquid lacquer on timber — that is highly resistant to impact, chemicals, and UV exposure. This makes powder-coated aluminium the right specification for bathrooms, kitchens, conservatories, and any location where steam, condensation, cleaning products, or direct sunlight are routine. The finish does not peel, crack, or chip in the way a multi-coat liquid lacquer system can when the substrate expands or contracts, because aluminium is dimensionally stable and the powder coat bonds directly to the extruded metal profile rather than to a primed timber substrate.
Powder coat on aluminium shutters is available in white, off-white, anthracite, and a range of RAL colours on request. The specification and colour are confirmed at survey.
How composite shutters are finished — and why they are different
Mimeo composite shutters are manufactured from a cellular PVC compound that arrives at the factory already in its finished colour — most commonly white or off-white. Unlike timber panels, composite panels do not receive a separate paint or lacquer system: the colour is integral to the PVC material throughout the panel cross-section, not a surface coating applied over a substrate. This means that if the panel edge is chipped or scuffed, the exposed material beneath is the same colour as the surface — there is no primer or substrate colour visible underneath.
This integral colour construction has a practical advantage in rooms where surfaces take knocks — a kitchen, a utility room, a child's bedroom, a home with large dogs. A minor scuff on a composite panel does not require a factory refinish to restore the appearance, because the underlying material matches the surface. The limitation is that composite panel colours cannot be changed after manufacture: the colour selected at order stage is permanent, and repainting a cellular PVC surface is not straightforward — the PVC compound requires specific adhesion primers and compatible topcoats that are not typically available on the domestic market.
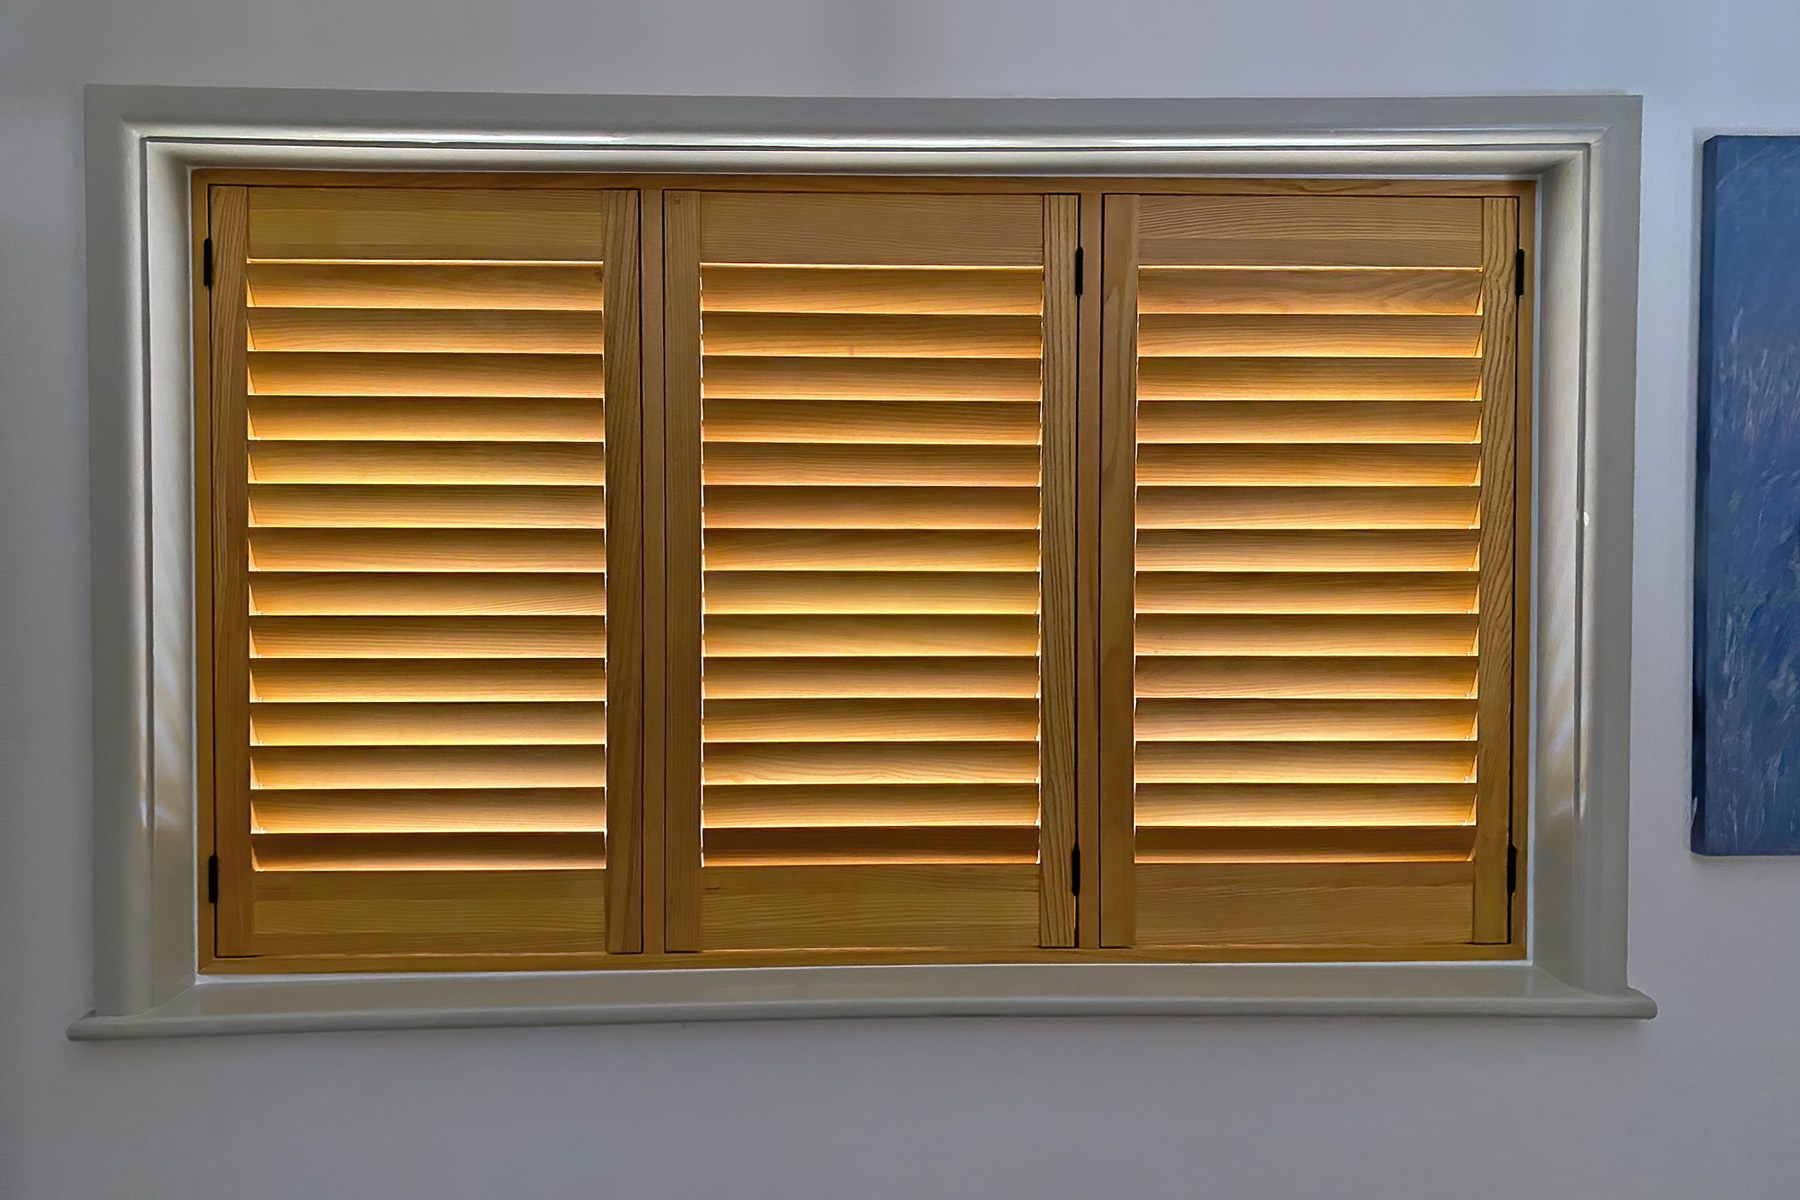
To see how the finished surfaces of composite, timber, and aluminium shutters compare in real completed installations, the project portfolio shows examples across all three materials in a range of room types, colours, and louvre sizes.
Reviewing finishes at the home survey
Colour chips on a website or brochure are a useful starting point, but they are not a reliable basis for a final colour decision. The sheen level, undertone, and apparent colour of a paint finish changes significantly between a showroom environment with artificial lighting and your home's specific light — a north-facing living room with cool, diffuse light will make the same off-white appear slightly blue-grey, while a south-facing bedroom with warm afternoon sun will shift the same colour toward cream.
At the home survey, the surveyor brings physical finish samples — actual louvre blades in the standard white and any custom colours you are considering — so you can hold them against your walls, woodwork, and flooring in your room's real light before committing. This comparison step is particularly valuable for off-white and cream shades, where the difference between RAL 9001 (cream), 9010 (pure white), and 9016 (traffic white) is subtle on a screen but visible in person. It also allows you to compare the sheen levels between ranges — some ranges use a semi-gloss topcoat, others a satin finish — which affects how light reflects off the louvres when the shutters are open.
Understanding why in-house manufacturing gives Shutters Factory control over the finishing process — from primer specification through to topcoat inspection — is covered in the article on why choosing a manufacturer matters for shutter quality. To arrange your own survey and compare finish samples in your home, book a free home survey at a time that suits you. You can also browse the full shutter product range to compare materials, finishes, and price tiers before your appointment.