Do you need to remove shutters to decorate?
The answer depends on the type of work and how close to the window the decoration extends. For general wall painting that does not involve the window reveal — the internal lining of the window opening — you can leave the shutters in place and tape the frame edge in the same way you would mask skirting board or a door surround. The panels can be folded open and propped while you work, and the frame edge masked with low-tack painter's tape. This approach works well where the walls meet the outer edge of the reveal and the shutter frame sits at the window face rather than recessed inside the reveal depth.
For wallpapering, or for painting that extends into the reveal, the panels will need to come down. Trying to hang wallpaper around a shutter frame without removing the panels introduces alignment problems that produce a visible join at the frame edge — particularly around a bay window where return angles are tight. Removing the panels gives unobstructed access to the whole reveal. For tier-on-tier shutters, where the top and bottom sections operate independently, remove all panels from both tiers together and label them before starting, since re-hanging in the correct tier position matters for the split-tilt function to work correctly after refitting.
How to remove shutter panels from their hinges
Plantation shutter panels hang on pin hinges — a small vertical pin seated in a socket at the top and bottom of each hinge leaf. Removing a panel requires lifting it vertically by 3–5 mm to disengage the pin from the socket, then swinging the panel clear of the frame. No tools are needed on a standard installation. Start by opening the panel fully so it is at 90 degrees to the frame, which reduces leverage on the pin during the lift. Support the panel at the stile with one hand while lifting with the other — for wider panels with 89 mm louvres, have a second person take the weight on the far side before the pin disengages, since a dropped panel will damage whichever louvre blade hits the floor or sill first.
Once the pin is clear of the socket, swing the panel out and set it down carefully. Never place a panel face-down on a hard surface — the tilt rod connecting the louvre blades is vulnerable to cracking if the panel lands or is dragged on a tile or floorboard. Always rest panels on their stile edge or face-up on a padded surface. For full-height panels covering a tall window, two people are always preferable for the removal and re-hanging — a 2,100 mm tall panel is heavier than it looks and difficult to manoeuvre safely in a narrow room. For detail on how hinge pin assemblies are specified and what to do if a hinge pin is stiff or corroded, the shutter hinges and hardware guide covers the full range of hinge types and their maintenance.
Protecting frames that stay in place
If you are removing panels but leaving the frame in position — the right choice for most redecorations — the frame needs to be protected before any paint or paste is applied. Shutter frames are painted in the same batch as the panels, which means any overspray or brush mark on the frame face will be visible against the panel colour once the shutters are re-hung. Apply low-tack masking tape around the full perimeter of the frame, pressing it firmly into the seal line between the frame and the reveal or wall. If the frame has a projecting architrave moulding, tape the outer edge of the moulding rather than the face to preserve the profile detail.
Where the frame is sealed to the reveal with decorator's caulk — standard practice on a new installation — avoid cutting into the caulk line with the tape. If the existing caulk has cracked or separated since fitting, a redecoration is the ideal opportunity to re-seal it: strip the old caulk, apply a thin fresh bead of flexible decorator's caulk, smooth it with a damp finger, and allow it to cure before painting over it. This restores the clean seal line that makes a frame read as factory-fitted rather than retro-fitted. For an understanding of how L-frame and Z-frame profiles relate to reveal depth — which affects how much caulk is visible and how the frame sits relative to the wall face — the shutter frames explained guide covers both principal frame types and how they are sealed.
Removing the frame: when it is worth doing and how
Full frame removal is worth considering when the existing caulk line has failed badly, when the reveal itself needs replastering or painting, or when a new wall covering needs to run behind the frame edge for a flush finish. Removing the frame is more disruptive than taking down the panels, but is not technically complex on a standard installation. The frame is fixed to the reveal with screws through the frame stile — typically two or three fixings per upright — and sealed with caulk around the perimeter. Score the caulk with a sharp craft knife first, then remove the fixing screws and the frame will lift clear. Fill the screw holes in the reveal before decorating, then re-drill and refix the frame using the same hole centres once the decoration is fully dry.
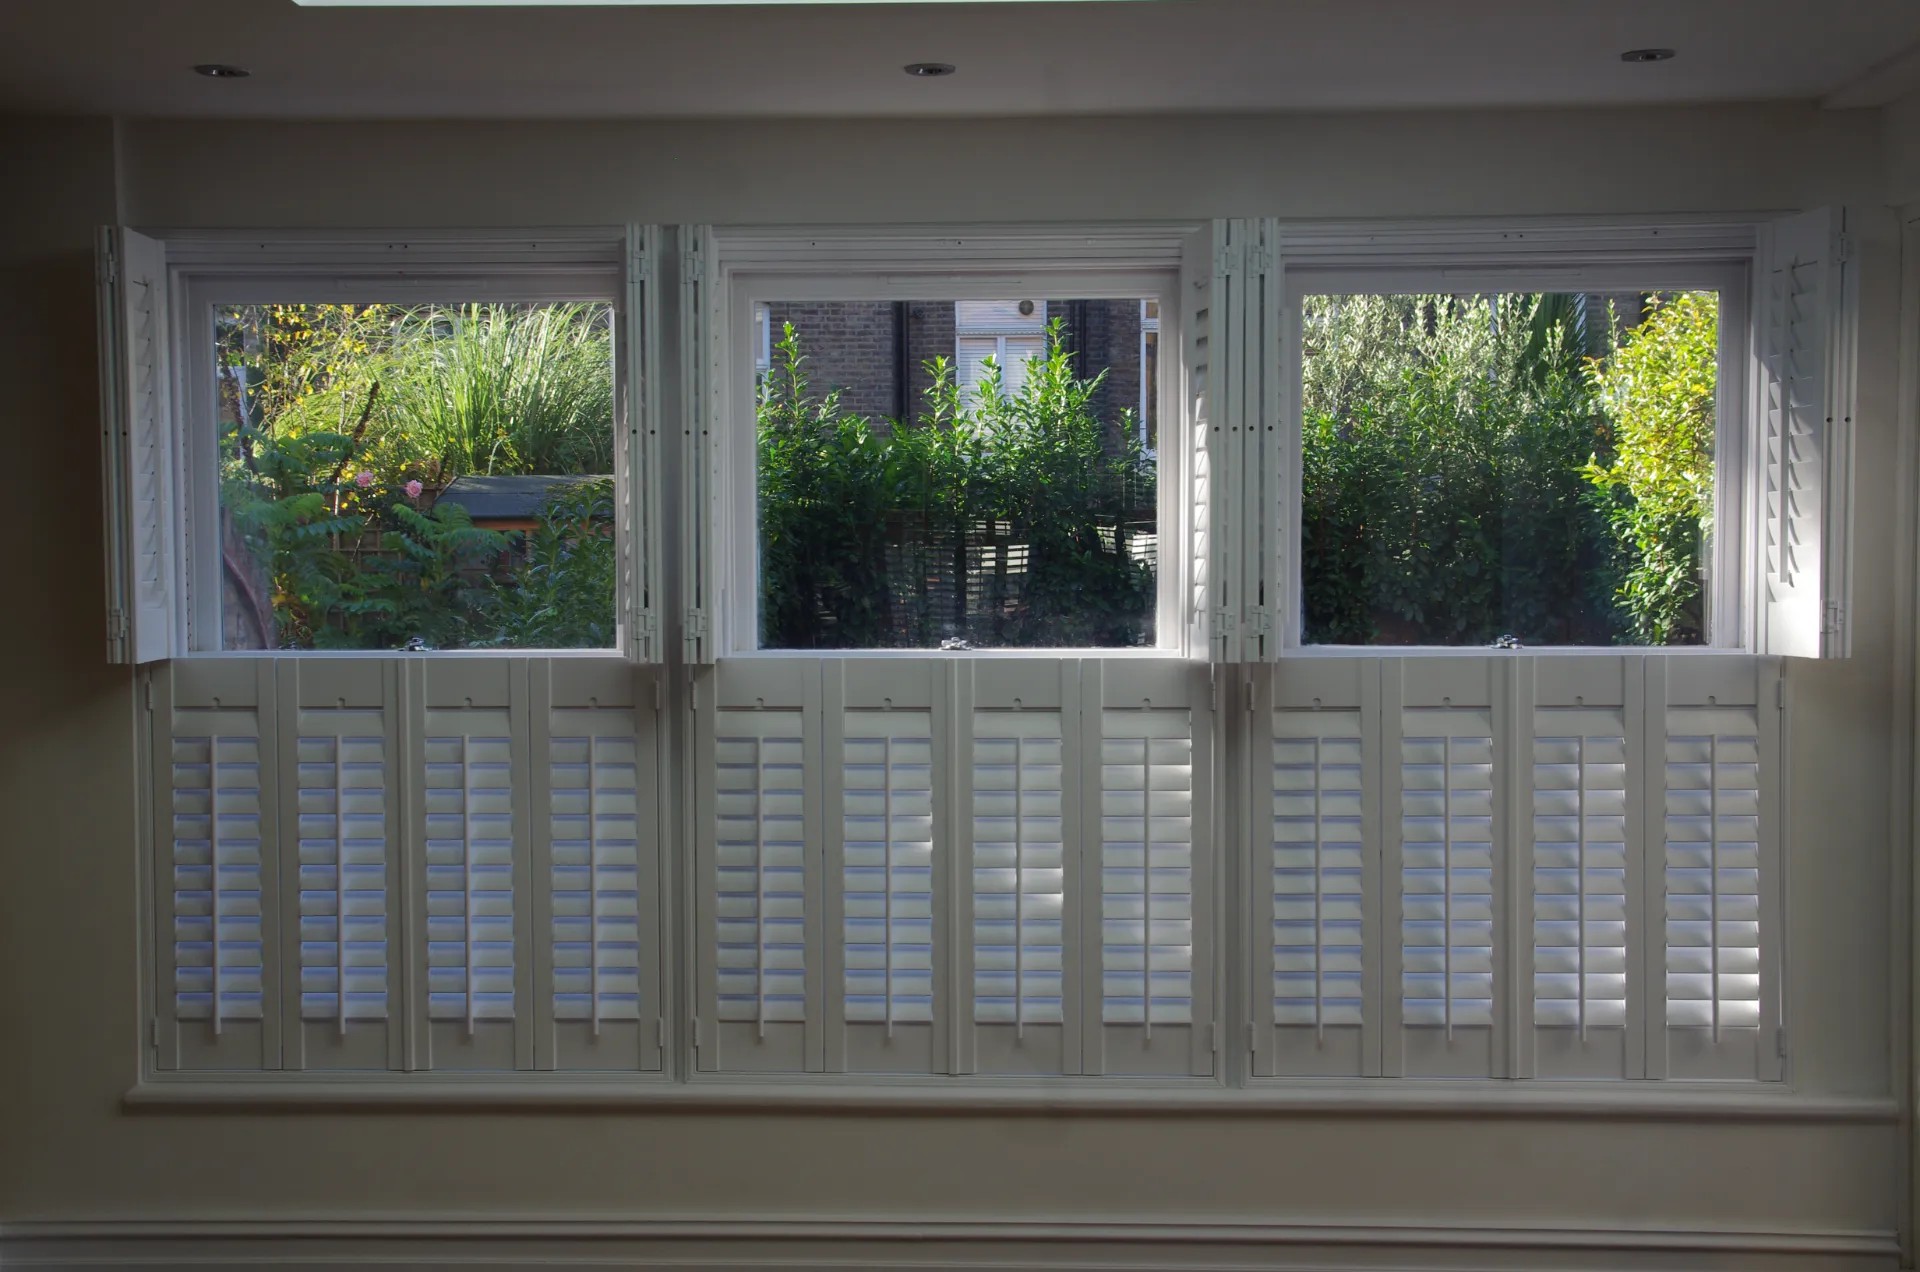
The risk in frame removal is re-seating it to exactly the same position. If the frame shifts by a few millimetres during refitting, the reveal depth at the hinge side changes slightly, which can affect how the panels sit in the closed position. Mark the frame position on the reveal with a pencil before removing it — scribing a line around the outer edge gives an exact reference for replacement. For café-style half-window panels, where the frame covers only the lower portion of the sash, the removal is simpler because the frame is shorter and lighter, but the alignment still matters for the panel to close flush at the meeting rail. For a full walkthrough of the original installation sequence — the clearest guide to re-seating a frame correctly — the shutter installation step-by-step guide covers frame positioning and fixing in detail.
Storing panels safely during a redecoration
Panels removed for decorating are typically out of their window for one to four days — long enough for damage to occur if storage is not handled carefully. Store panels vertically on their stile edge, never flat. Flat storage places uneven stress on the louvre blade pivot pins and the staple bar that runs between the blades; a panel face placed against a hard wall for two days can bruise the surface finish at the contact point. Stand panels upright against a carpeted wall or a padded surface, in the order they will be re-hung so there is no confusion at refitting.
Timber panels — whether hardwood or paulownia — must be kept in a dry, temperature-stable room away from radiators. Never store timber shutters in a garage, loft, or conservatory during winter: the humidity and temperature swings that occur in those spaces over even a fortnight are sufficient to cause timber movement that affects louvre tension. A spare bedroom or interior hallway is the correct location. For context on why timber responds differently to environmental conditions than composite or aluminium shutters, the guide to wooden plantation shutters explains what to expect from timber across a full property lifecycle.
Re-hanging shutters after decorating
Before re-hanging, allow the paint or wallpaper adhesive to cure fully — at least 24 hours for standard emulsion and 48 hours in a poorly ventilated room or during cold, damp weather. Fitting panels over wet paint can cause the panel edge to stick to the frame in the closed position, which stresses the hinges when the panel is next opened and transfers fresh paint to the panel stile.
Re-hanging is the reverse of removal: hold the panel at the correct height, align the pin with the socket on each hinge leaf, and lower the panel so the pin seats in the socket. Check the panel swings freely and closes flush at the centre stile — if there is a visible gap at the top or bottom of the meeting join, the pin may not have fully seated. Test the louvre tilt after re-hanging to confirm the tilt rod is functioning freely. If louvres feel stiff, open the panel and check no paint has entered the pivot sockets at the blade ends — a small amount of silicone lubricant applied with a cotton bud restores smooth movement without affecting the finish. For details on the full range of fitting and aftercare services from Shutters Factory — including professional re-hanging assistance after a major redecoration — the services page sets out what the team offers.
If the frame was removed and refitted, check and seal the reveal-to-frame caulk line before hanging the panels — once the panels are in place the perimeter seal is difficult to reach without taking them back down. For inspiration on how a freshly decorated room looks with plantation shutters reinstalled, and to see how different shutter styles sit in a range of room settings, explore the Shutters Factory project photo library. If the redecoration is part of a wider room refresh and you are considering a new shutter specification, browse the full product range and arrange a survey to receive a room-specific quotation.
When to call a professional fitter
Most homeowners can manage panel removal and re-hanging without assistance. The situations where professional help is worthwhile are: panels larger than 600 mm wide or 1,800 mm tall; frames that need removing and re-seating to an exact reveal position; hinges that are stiff or corroded and risk damage during removal; or older, non-standard installations without straightforward pin-hinge access.
Shutters Factory provides a refitting and aftercare service for shutters the business has supplied. A professional refit of a four-window property typically takes two to three hours and costs £150–£250 depending on the number of panels and whether frame removal is involved. For older shutters where the hinge specification is unclear or the reveal has changed through previous decoration, a short surveyor visit to assess the configuration before removal is a sensible precaution that avoids the risk of damaging a pin socket by forcing a reluctant hinge. Book a free assessment ahead of your planned redecoration and the team will confirm the correct approach for your specific shutters, with written guidance on the removal, storage, and re-hang sequence.