Why accurate measurements matter more for shutters than for other window treatments
Plantation shutters are manufactured to the exact dimensions of each individual window opening. Unlike roller blinds, where a standard width can be trimmed on site, or curtains, where an oversized drop is simply pooled on the floor, shutters are a precision-fit product: a panel that is 3mm too wide will not seat correctly within its reveal, and a frame that is 2mm too tall will bind against the lintel. This tolerance requirement is not a limitation — it is precisely what gives shutters their clean, built-in appearance — but it does mean that preliminary measurements need to be taken carefully.
The practical consequence of inaccurate measurements is a misquoted price. If your measurement records a window at 900mm wide when the actual reveal is 930mm, the panel configuration and price quoted will be incorrect. When the surveyor visits to confirm dimensions before manufacture, any significant discrepancy between the preliminary and confirmed figures revises the quote accordingly. Taking accurate preliminary measurements means the initial estimate reflects the final price, with no surprises when you are ready to commit. Our window shutters pricing guide explains the key variables that affect cost once the measurements are established.
Inside the reveal or outside: understanding the two fitting options
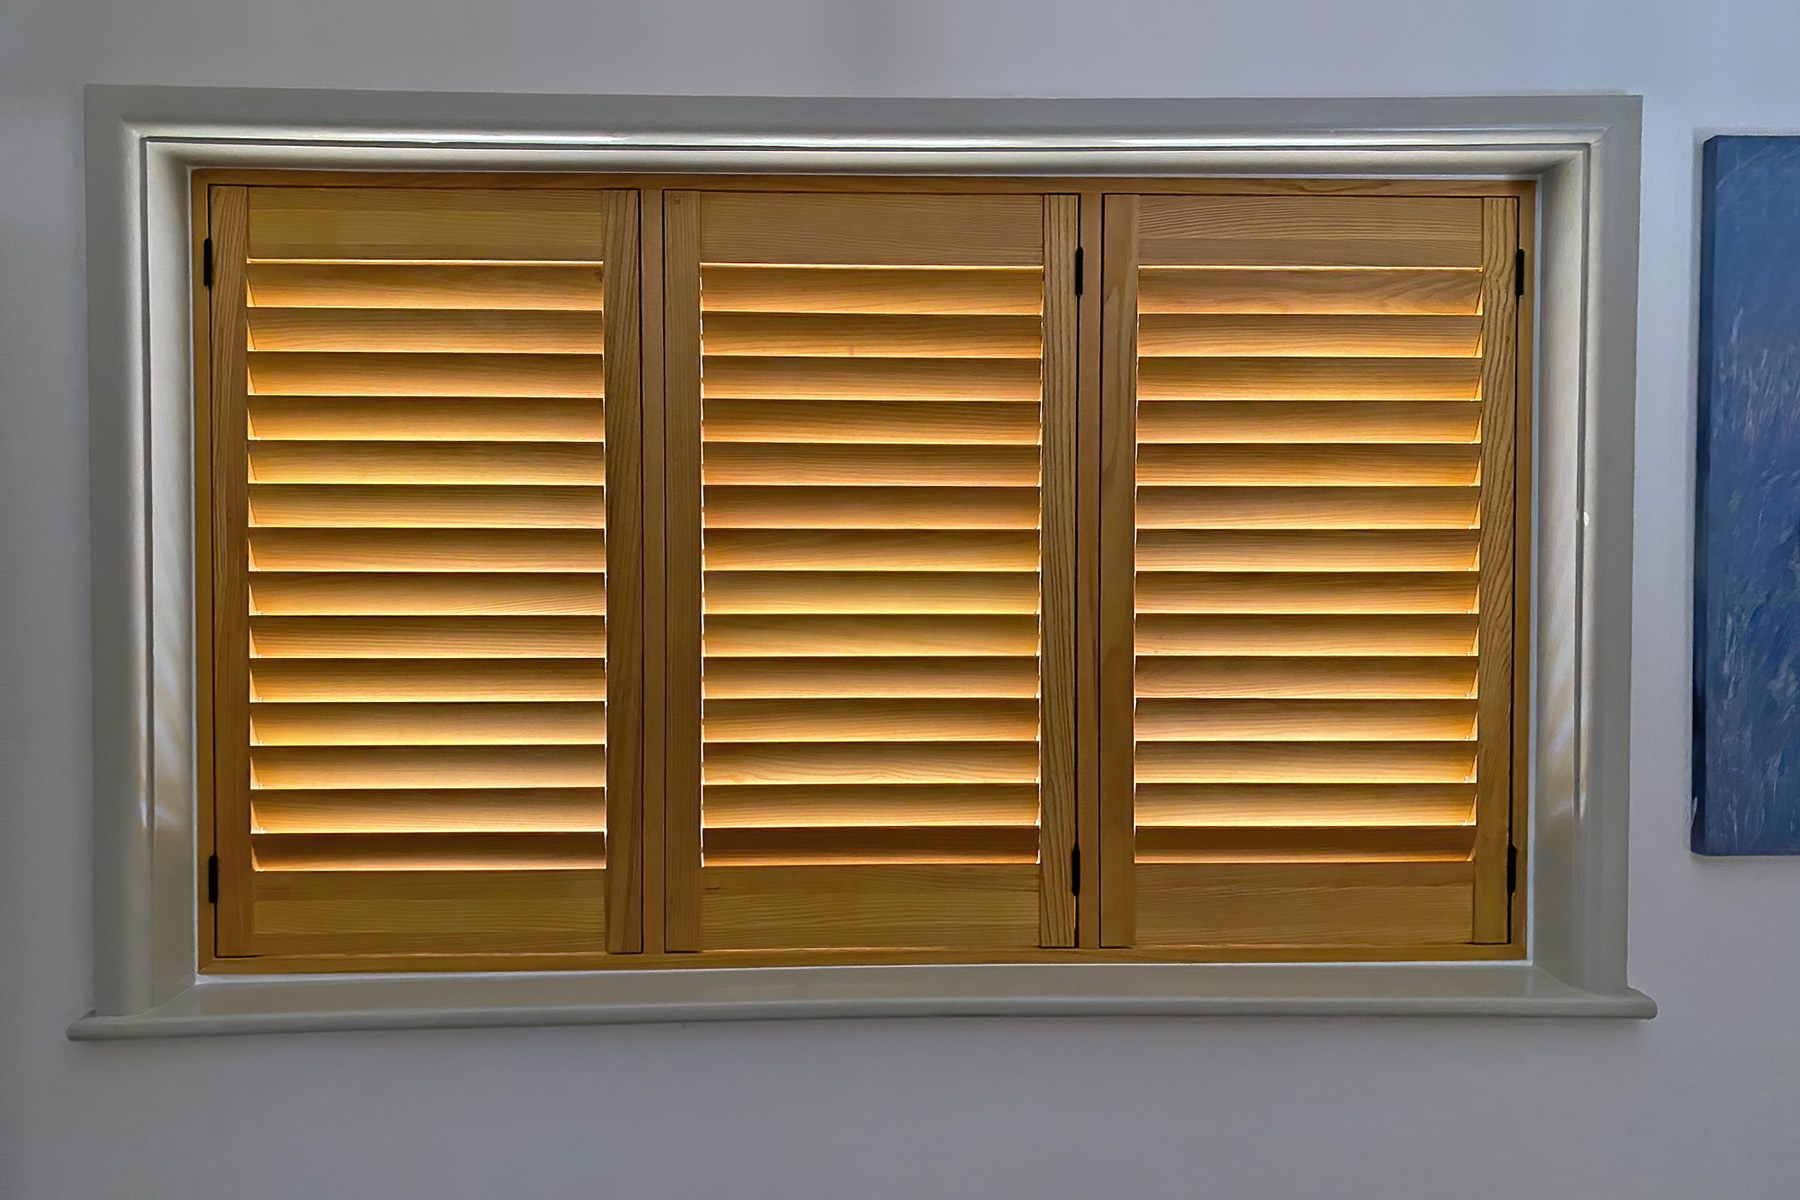
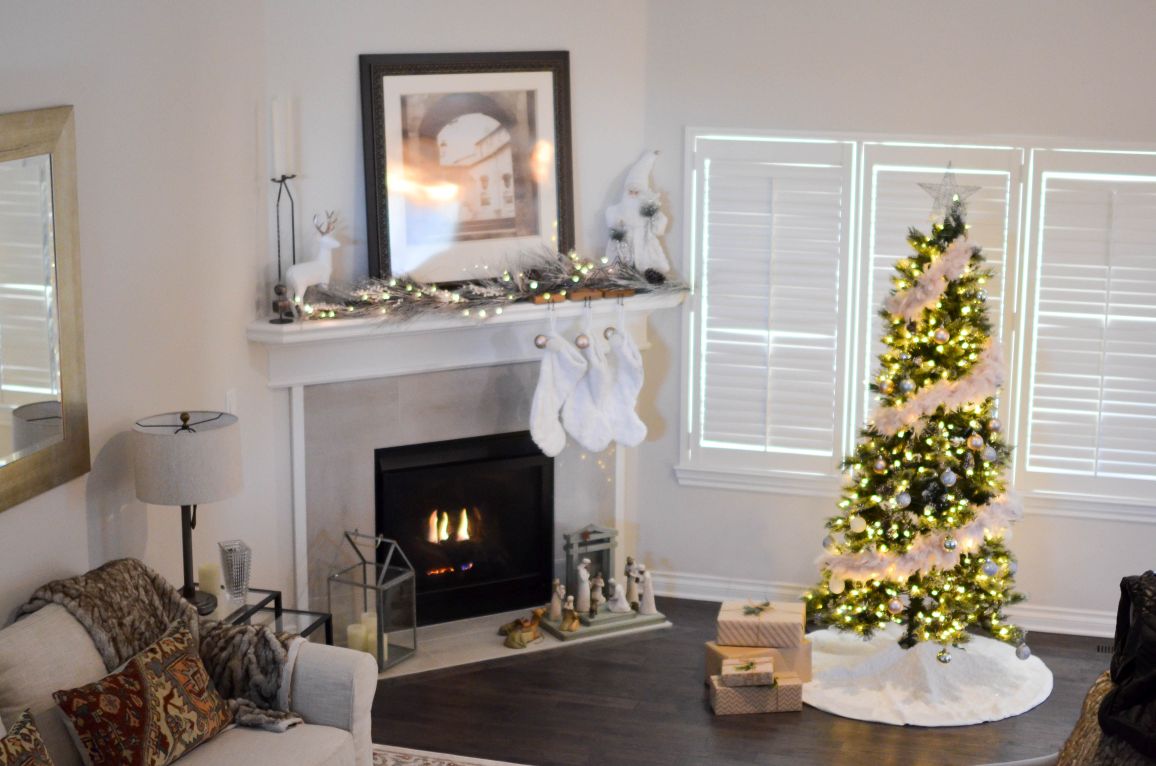
Plantation shutters can be fitted in two positions. Inside-the-reveal fitting places the frame flush within the window recess, so the shutters open and fold within the reveal depth and sit level with the surrounding plaster. This is the standard domestic configuration — it gives the integrated, architectural look most homeowners want, leaves the window itself fully accessible, and requires no fixings in the plaster face of the wall. Full-height shutters fitted inside the reveal are the most common specification across both new-build and period properties.
Outside-the-reveal fitting surface-mounts the frame to the wall above and around the window, like a large picture frame. It is used when the reveal is too shallow (typically less than 63mm) for a full-depth inside frame, when the window sits almost flush with the wall plane, or occasionally as a deliberate design choice to make a small window appear larger. For outside fitting, the measurement needed is the total area you want the shutters to cover, plus a border of approximately 40–50mm on each side to allow the frame to sit flat on the plaster without clashing with the architrave. For inside fitting — which this guide primarily addresses — the only measurement that matters is the internal reveal dimension: width and height between the internal faces of the recess.
The three-point measurement technique: width, height, and reveal depth
Old buildings are rarely perfectly square. A Victorian sash window that appears symmetrical may be 3–4mm narrower at the top than at the bottom due to decades of settlement, and a reveal that looks uniformly tall may slope slightly from one side to the other. This is entirely normal and does not prevent a good shutter installation — but it does mean that a single width and a single height measurement are insufficient.
The correct technique is to take width measurements at three heights — at the top of the reveal, at the midpoint, and at the bottom — and to take height measurements at three positions — at the left, centre, and right of the reveal. Record all six figures. When providing measurements to a supplier for an estimate, use the smallest width and the smallest height from your six readings. Shutters are manufactured to fit within the reveal without pressing against it under tension, so the frame must clear the narrowest point even if the wider points have a small gap at the edge.
For reveal depth — the front-to-back dimension of the recess — measure from the front face of the window architrave (or the wall face for a reveal without architrave) to the face of the window itself. A standard inside-the-reveal frame requires a minimum of 63mm of depth. If your reveal is shallower than this, advise the supplier at the enquiry stage so that a modified narrow-depth frame or an outside-the-reveal approach can be quoted from the outset.
Measuring bay windows, sash windows, and French doors
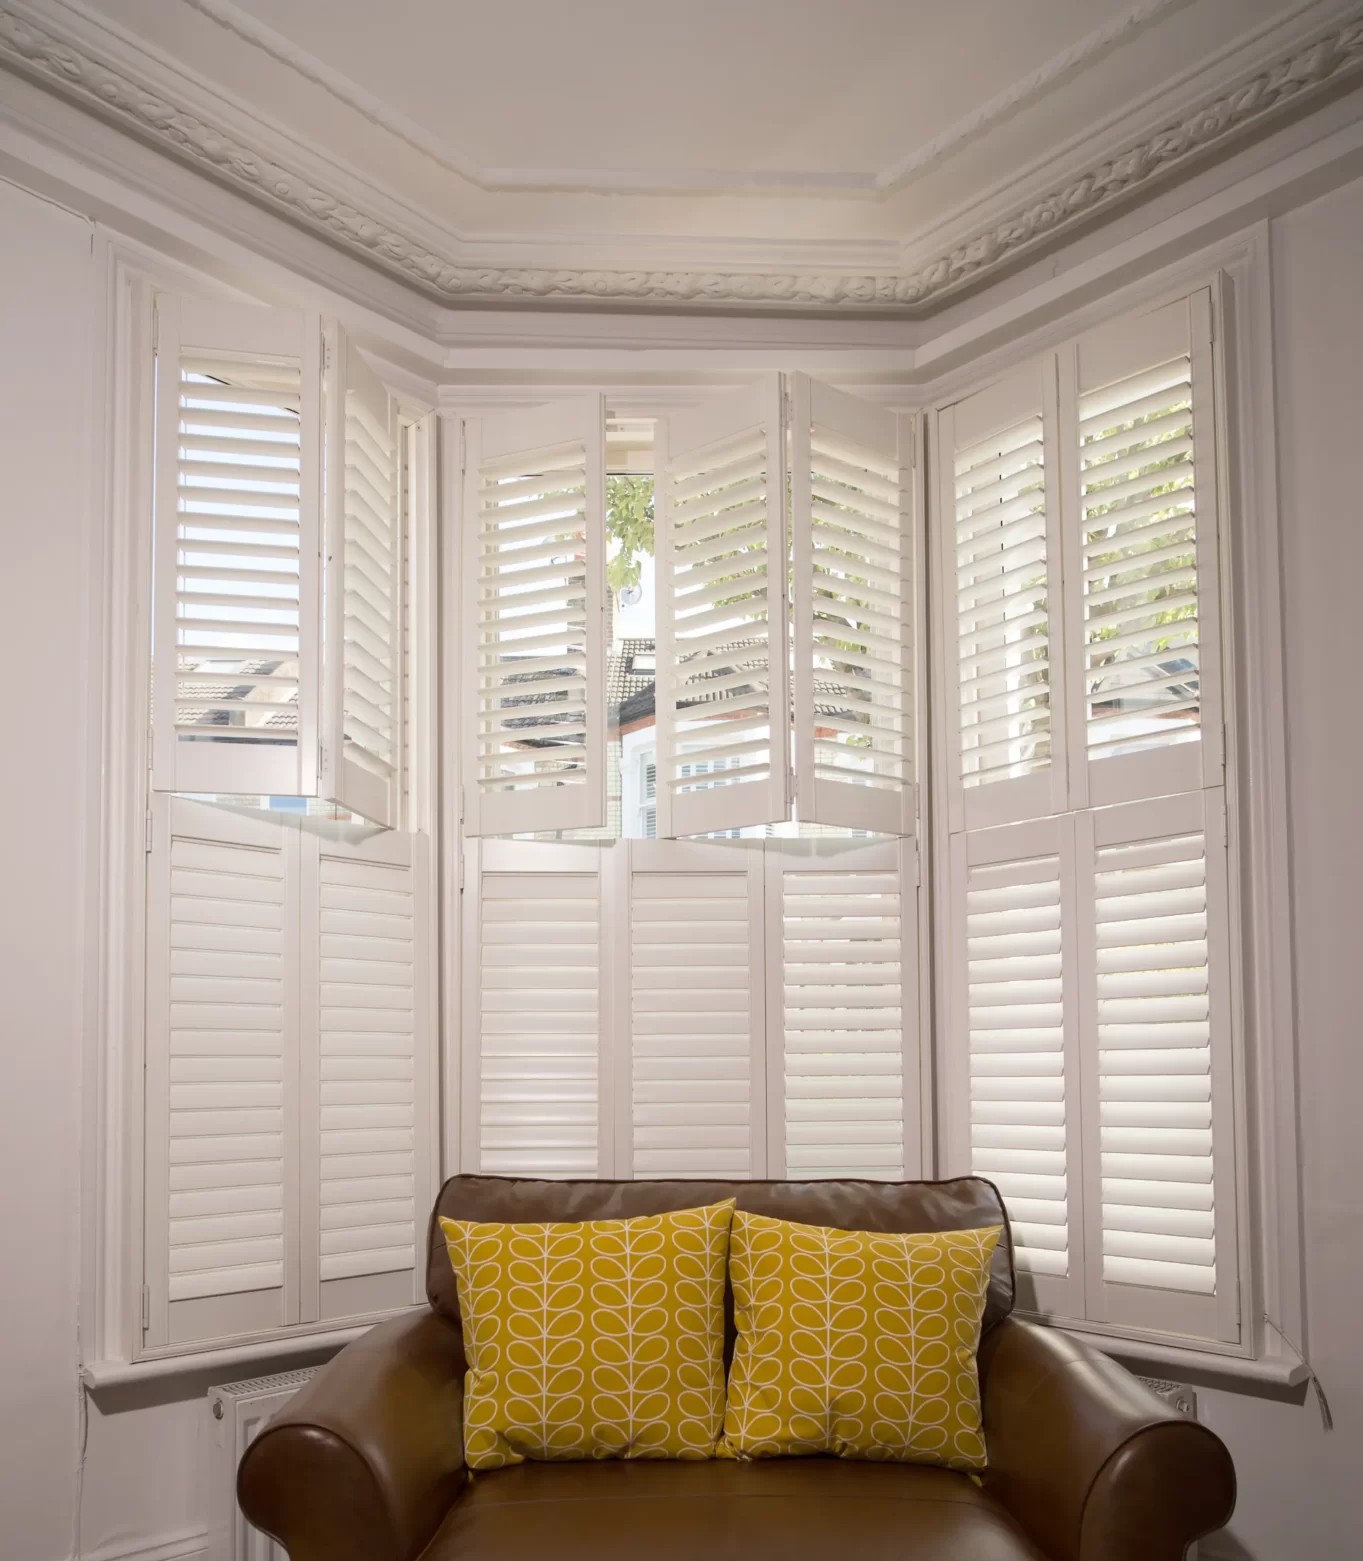
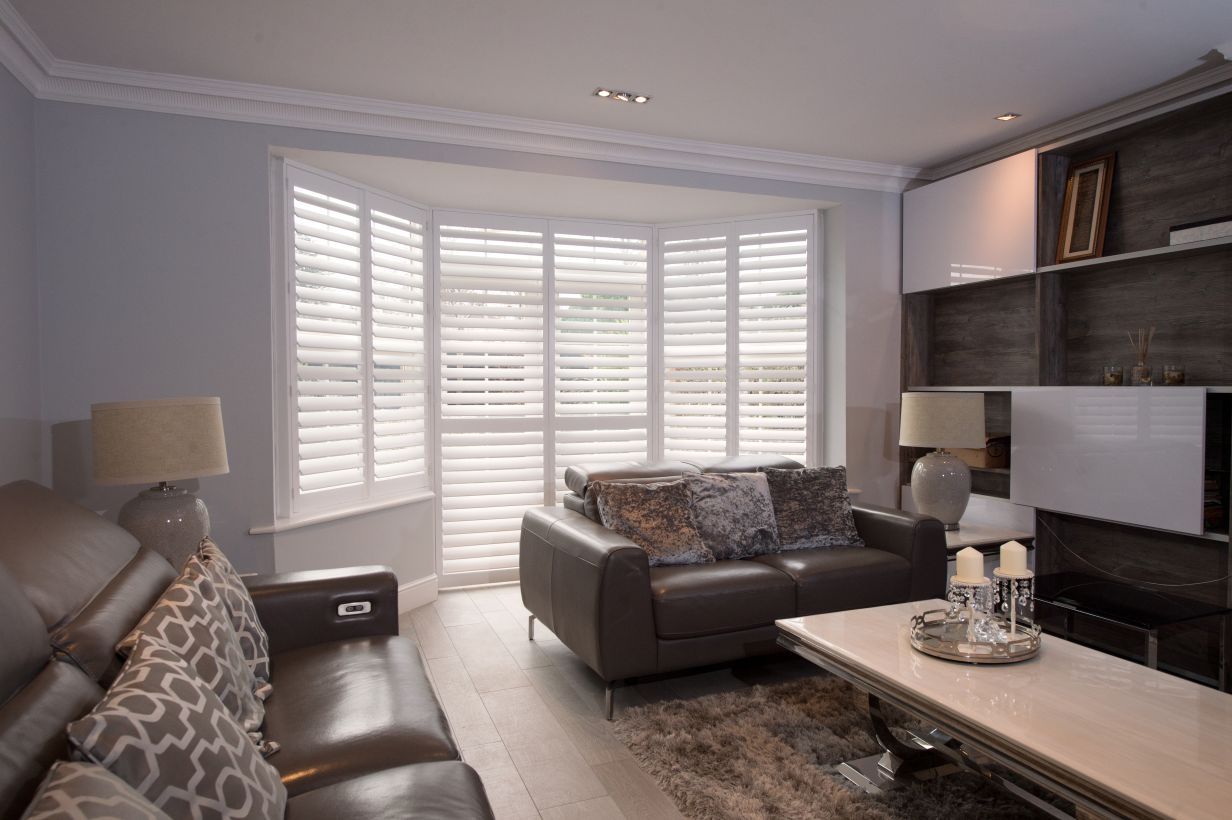
Bay windows introduce a structural consideration that a tape measure cannot fully resolve: the angles at which the sections meet. Accurate measurement of a bay requires recording the width of each individual section separately, the height of each section separately (they sometimes differ at the corners), and the angles at the joints. For a standard three-section Victorian bay with 45° mitre joints, the surveyor uses a digital angle gauge to confirm corner angles precisely — even 1–2° of error affects how panels meet at the corner joints and how clean the finished sight line is. The preliminary measurement for a bay should record each section's width and height individually. Our blog guide to bay window shutters styles and fitting covers the configuration options in detail.
Tier-on-tier shutters — the standard configuration for sash windows, allowing the top and bottom panels to operate independently — are measured in the same way as full-height shutters, but with one additional consideration: the position of the meeting rail, which determines where the horizontal mid-rail of the shutter will sit. The surveyor will position this to align with the existing sash meeting rail so the shutter enhances rather than interrupts the window's natural geometry. For French doors and wide bi-fold openings, tracked shutters are sized by total opening width and height, with the track hardware factored into the reveal depth calculation. The surveyor will assess how the track routes within the reveal without obstructing the door mechanism — a judgement that requires a physical site visit.
Common measuring mistakes and how to avoid them
The most frequent preliminary measurement error is recording the glass dimension rather than the reveal dimension. Glass-to-glass measurements are always smaller than the reveal — sometimes by 100mm or more in windows with deep reveals — because they omit the window frame and the plaster returns around it. Shutters are sized to the reveal, not to the glass area.
A second common error is measuring to the outer face of the window's timber frame rather than to the internal plaster of the reveal. The frame sits within the reveal; the measurement needed is from plaster face to plaster face, not from timber to timber. A third error is rounding to the nearest 10mm on the assumption that manufacturing tolerances are generous. They are not. Measure to the nearest millimetre, record all six three-point figures, and let the manufacturer determine the final panel specification from those figures. A 5mm difference across a reveal can change the optimal panel count and configuration.
What the free home survey confirms that a tape measure alone cannot
A home survey is not a formality that follows a confirmed order — it is the professional measurement step that precedes manufacture. The surveyor uses calibrated tools and accumulated site experience to resolve conditions that a preliminary tape measure will not catch.
Panel configuration is one example: where a reveal is 1,180mm wide, the surveyor determines whether two panels at 590mm each or three narrower panels give the best visual result and the most practical opening. The preliminary measurement establishes the frame width; the survey determines the internal division. Wall condition matters too: a reveal that appears flat may have a plaster bulge at one edge that would bind a tightly fitted frame; the surveyor specifies a small clearance or a packing shim where needed. The survey is also when you confirm finish choices — louvre size, paint colour, tilt rod versus hidden tilt configuration — against your actual windows and natural light conditions. Our guide to what happens during shutter installation covers how these surveyed details translate into the manufacturing order and fitting day. A separate guide explains exactly what to expect from a free home survey from first contact to fixed written quote.
Costs, lead times, and getting your measurements reviewed
Once you have your preliminary measurements, they translate directly into an indicative cost. Supply-and-fit pricing for standard rectangular windows starts from £380 per m² for Mimeo composite shutters and from £550 per m² for Endura hardwood shutters. Bay windows and shaped or arched openings attract a bespoke premium that the surveyor confirms after the site assessment. Lead times from confirmed order to installation are typically 4–6 weeks for composite and 6–8 weeks for hardwood.
Browse finished examples across different window types, rooms, and materials in the shutters gallery, and explore the full range of styles — from bay window shutters to full-height shutters — across the styles pages. When you are ready to move from indicative figures to a fixed written quote, book a free home survey. A specialist will visit at a time convenient to you, take confirmed measurements to the millimetre, and provide a firm price that does not change between survey and manufacture.